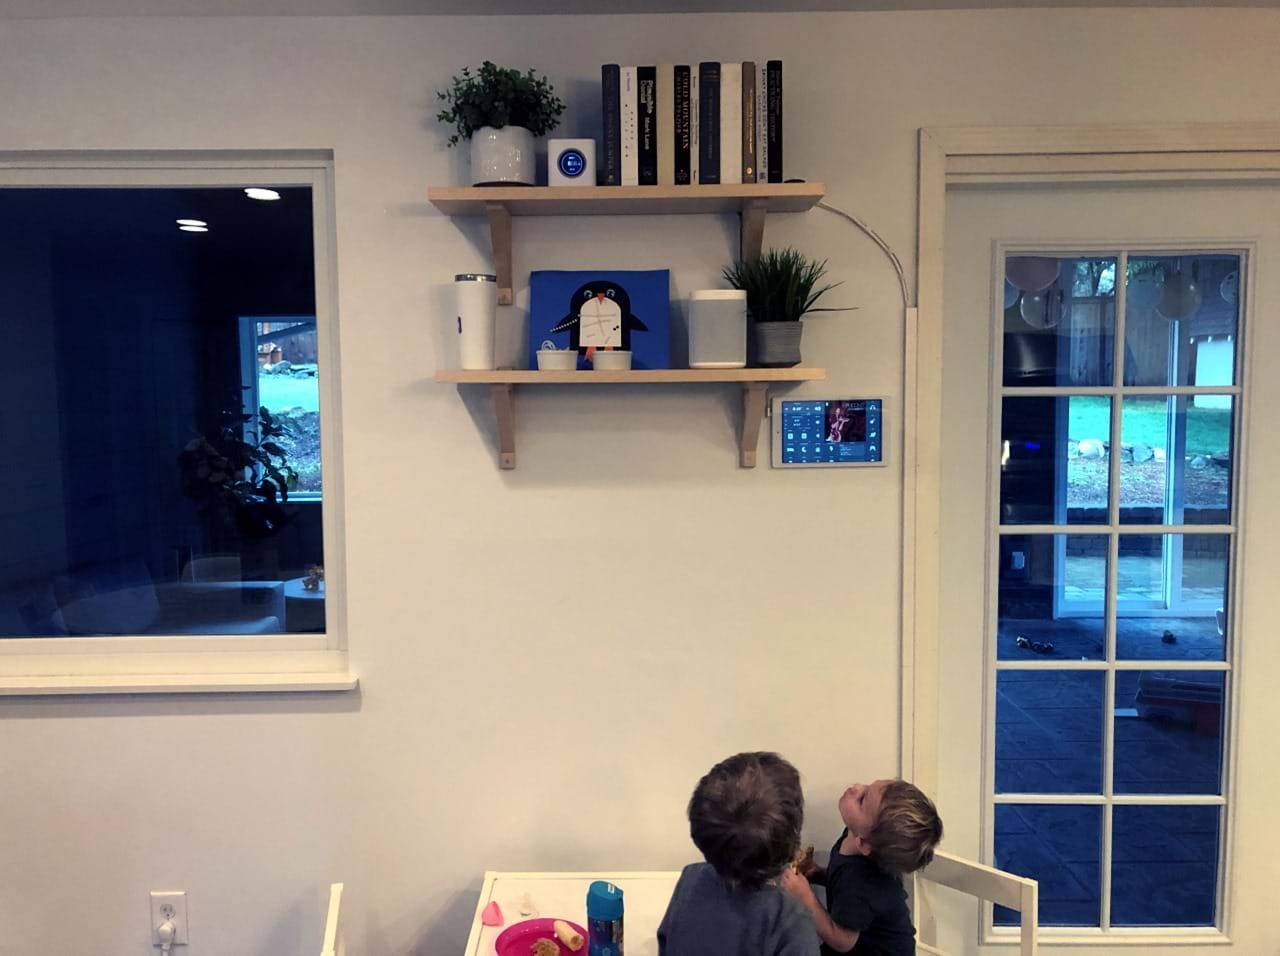
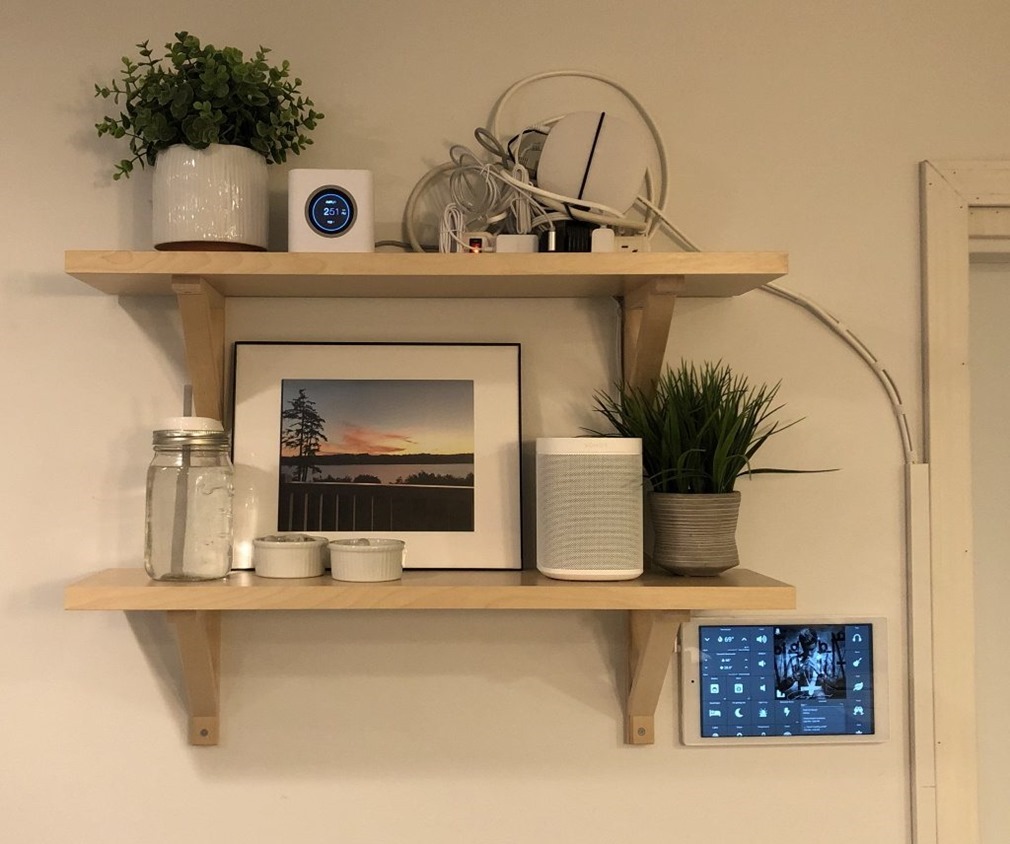
I’ve had some questions lately about how we keep track of all the home automation devices spread across the house. So, I thought I’d share how our dashboard is set up. The dashboard is the web-based SharpTools that runs in Fully Kiosk Browser on an Amazon Fire Tablet HD 10 which is magnetically attached to the wall.

20200130_165855165_iOS

Since it hangs so close to shelving, the charging cable is nicely hidden, so we didn't need to install additional electrical outlets behind the tablet.

20200130_165901366_iOS

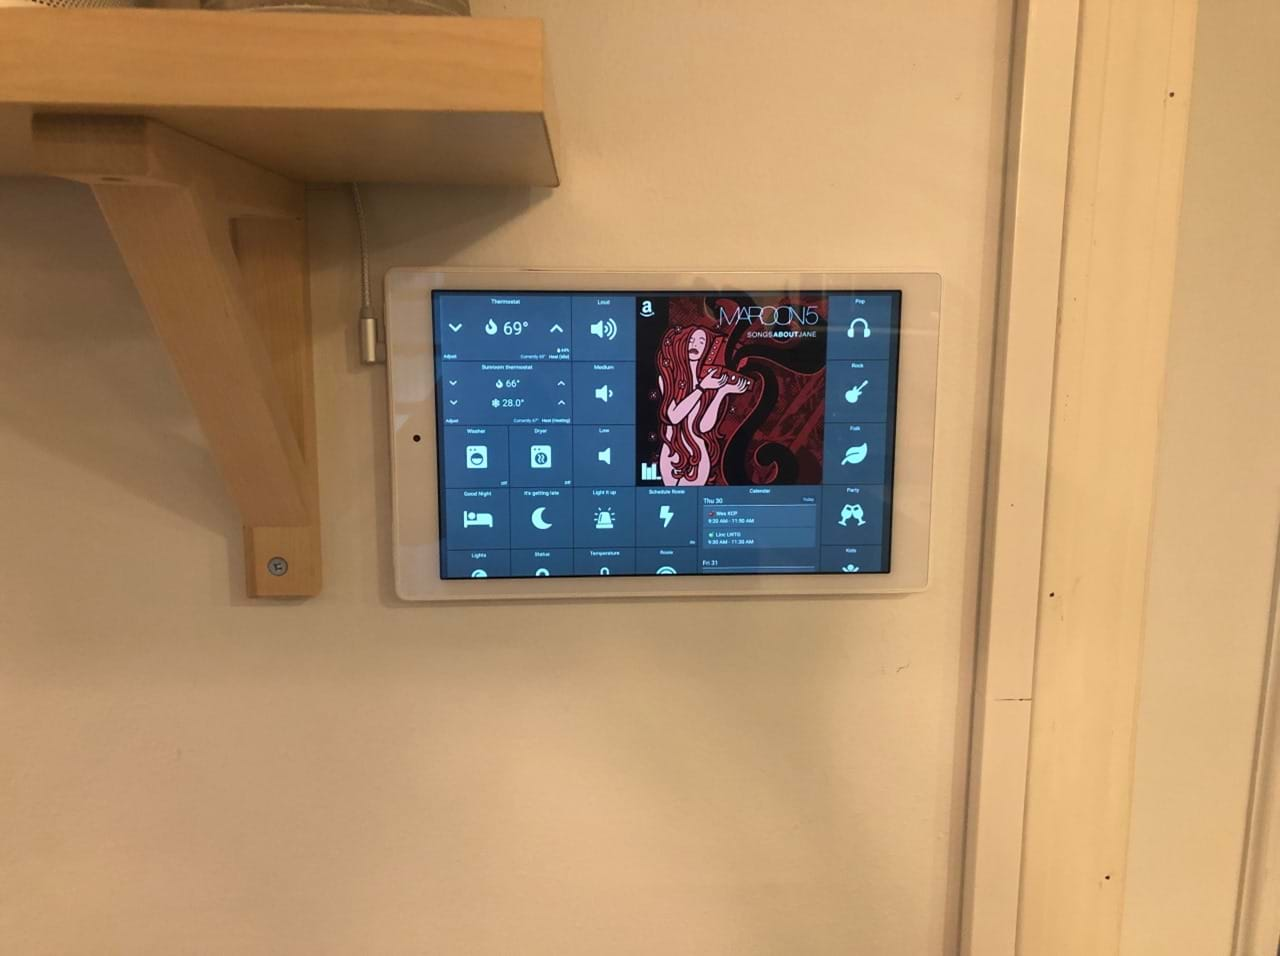
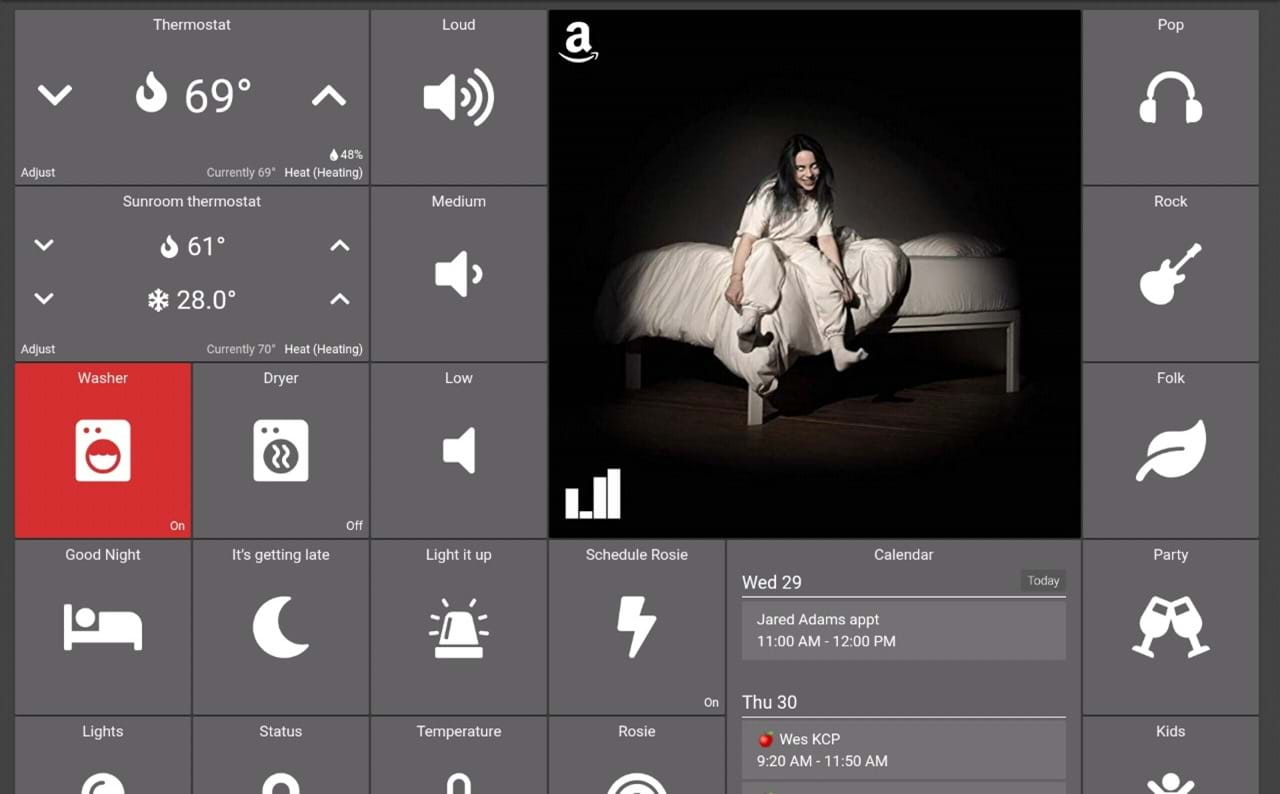
Though the tiles looked blue above due to lighting and old phone camera, all tiles are actually gray, and red is used for the ones that need our attention when certain events occur - like when the washer is done and we need to move the clothes to the dryer. This helps keep the visual noise to a minimum and the red is really easy to see from across the room.

The bottom row is half way below the fold and we utilize this for both navigation to other dashboard (the left 3 bottom tiles) and some infrequent commands. The calendar is well suited for being cut off since it easily scrolls to reveal future calendar entries without scrolling the whole screen.

20200130_040848334_iOS

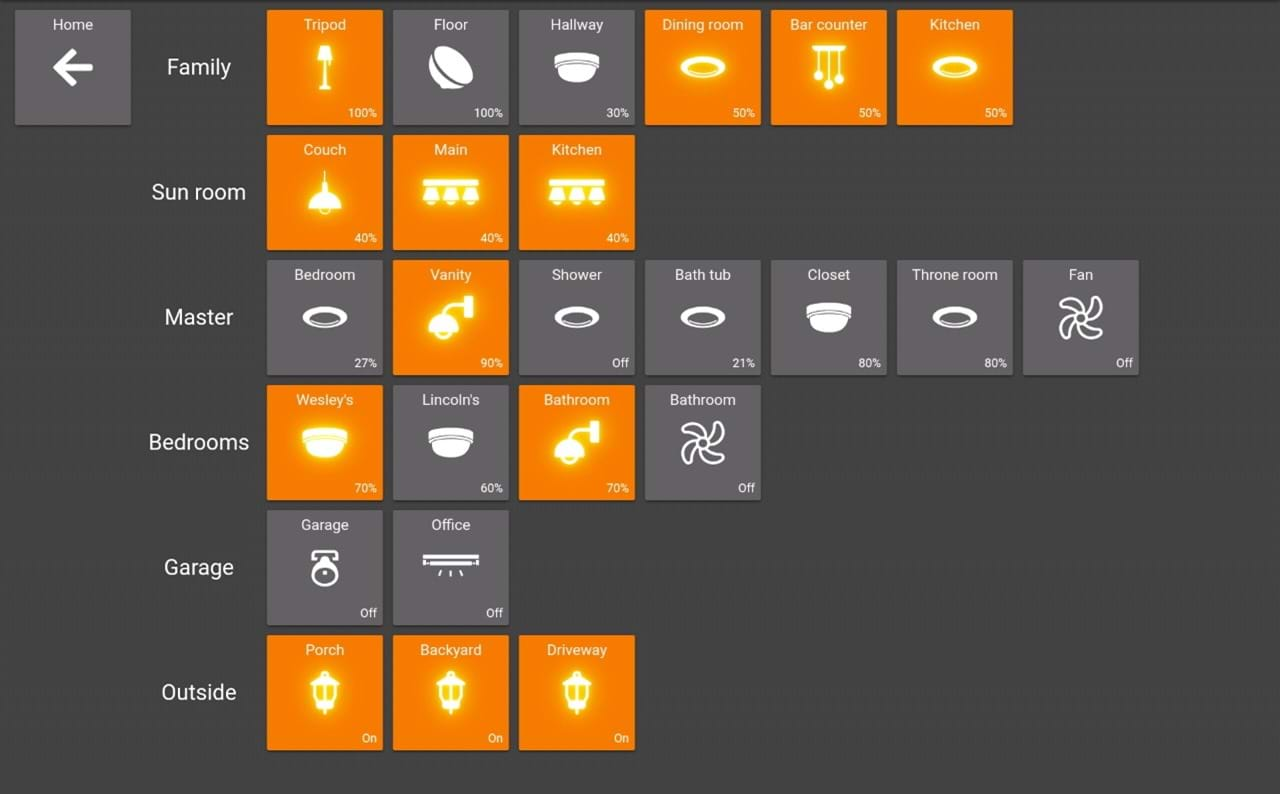
The first sub-dashboard is for the lights around the house. We use orange as a neutral color instead of green/red or similar. That's because it is neither good nor bad if a light is on or off. So orange in this case just means that something is active or on.

20200130_040906613_iOS

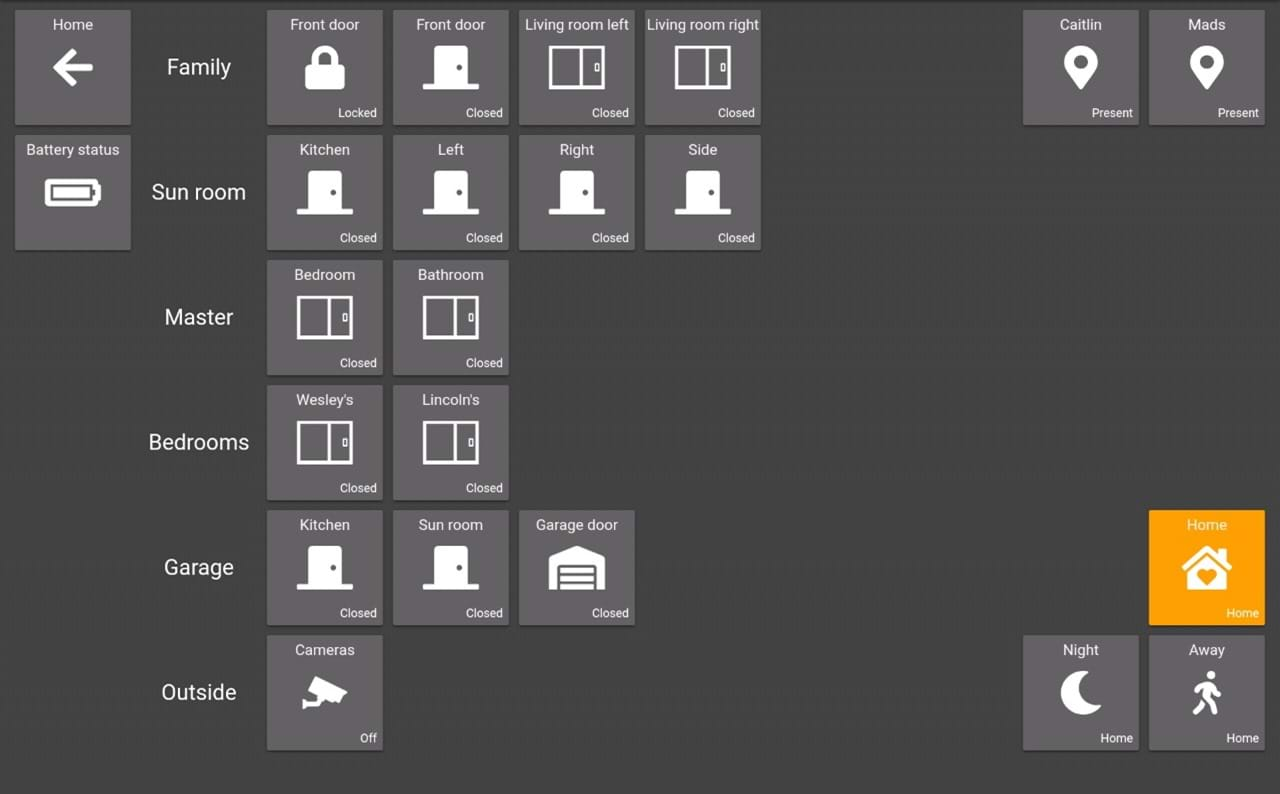
The second sub-dashboard tell us the status of more security related information. It tells us what external doors and windows are open, if the door is locked, the cameras armed and who's home.

20200130_145903231_iOS

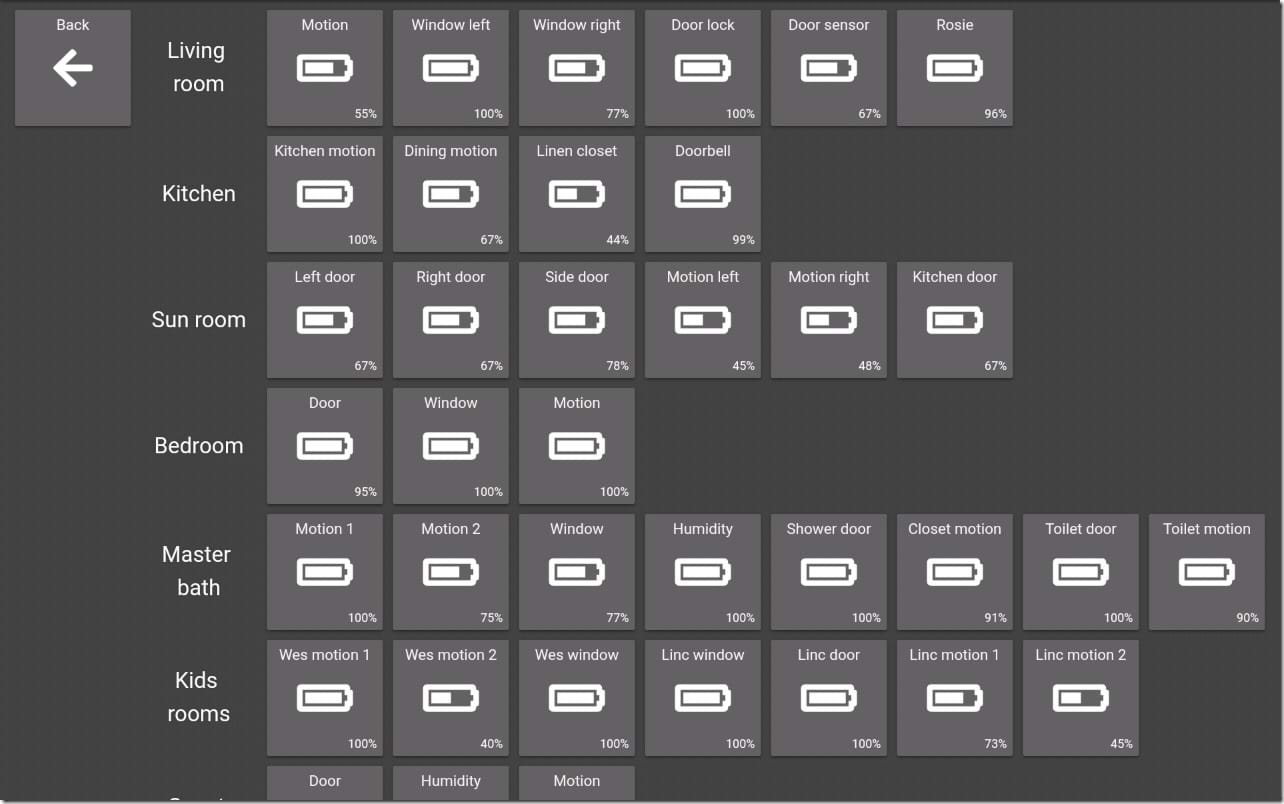
It also has a link to a sub-sub-dashboard for showing battery status of our various devices. This uses the Battery Tile and will change color as the battery levels get below 30% and again below 10%. None of my devices are low on battery - thanks to this dashboard.    

20200130_150015824_iOS

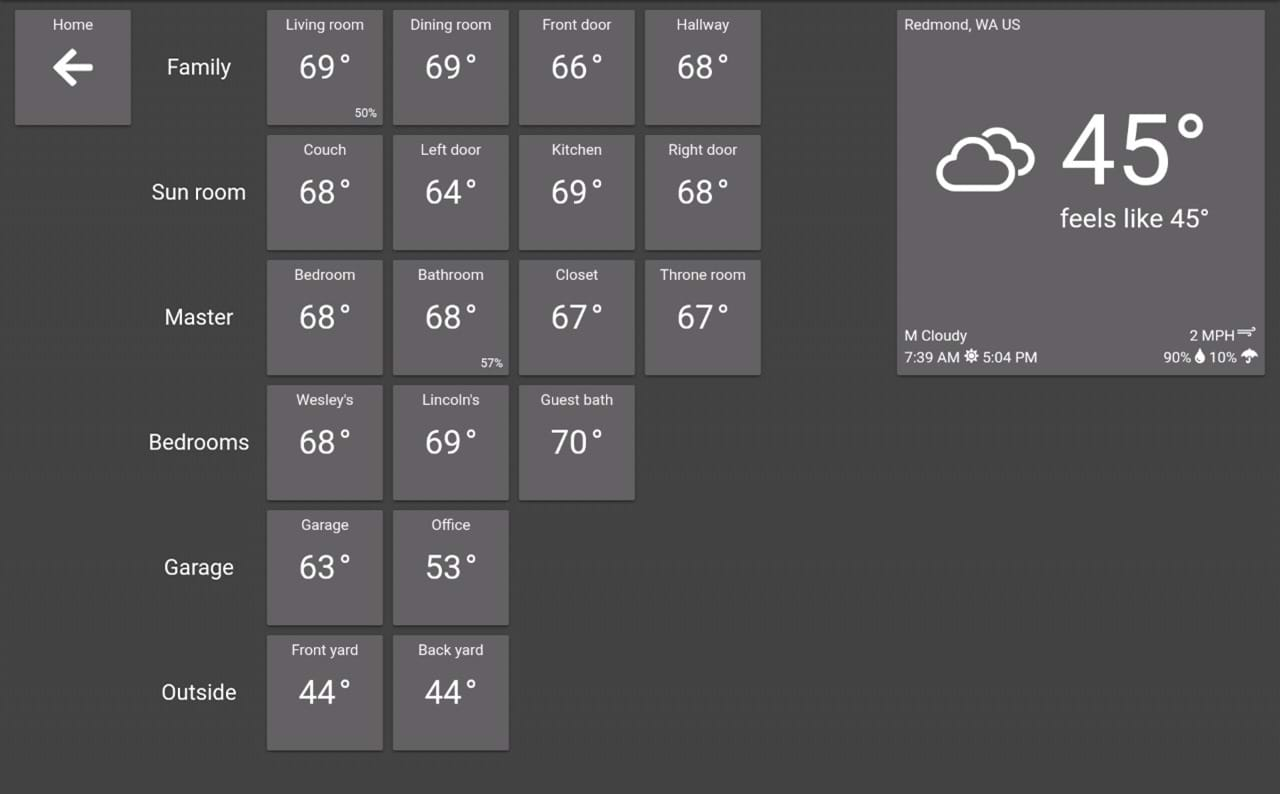
The third sub-dashboard is temperature and weather information from around the house.

20200130_041009032_iOS

That’s it. I tried to keep it simple, but still containing all the information I need. What do you think?
Motion, contact, and light sensors are the most commonly used sensors for home automations in my house. With these sensors, you can make a wide variety of automations. But there are so many different manufacturers, protocols, and price points that it can be hard to choose which devices to buy and use.

When setting up automations, check out these set of best practices to avoid common mistakes. It boils down to having automations that do the same thing as you (and your guests) would do before the automation existed. For instance, turn on the light when entering the bedroom, but not if it’s filled with sunlight.

Sensor speed

Before we dive in, I want to make a note about sensor speed. For lighting automations, speed is usually the most important factor to consider. When entering a dark room, most people instinctively reach for the light switch. It’s in their muscle memory.

When a lighting automation is slow, that muscle memory triggers, and they reach for the switch. Just before pressing the switch, the automation turned on the light, so they end up turning the light switch off.

When the lighting automation is super-fast, that muscle memory never triggered in the first place and the automation feels magical.

When using Samsung SmartThings hub, make sure to run all your lighting automations in the Smart Lighting SmartApp. For all involved devices (usually switches/bulbs + sensors) make sure they use local device handlers. Then the automation will execute locally without accessing the internet. The speed difference from local to internet execution is significant.

I’m not affiliated with any manufacturer or reseller. I’ve tried enough sensors to give me an idea about which ones work better than others for my needs. You might have a different experience or know of sensors that I haven’t tried. In that case, please share that in the comments below.

Motion sensors

The most important factors to consider when buying a motion sensor are speed, battery life, and design.

Zigbee vs. Z-Wave

Of all the sensors I’ve tried, the Zigbee ones are the fastest. I don't know why that is, but others have experienced the same thing. So, for automations where speed is important such as turning lights on when entering a room, I would go with a Zigbee device every single time. The difference in speed is very noticeable.

For automations where speed isn’t as important, such as for detecting when motion has stopped, then battery life and design matters more.

Placements

Motion sensors look a little bit like small spy cams, so I try to make them as invisible as I can to not freak out my guests. Especially the ones placed in the bathrooms. Good places to but them are corners just below the ceiling.

For super-fast detection when someone enters a room, place the motion sensor on the ceiling close to the wall directly above the door pointing downwards.

Which one to get

If I could have only a single type of motion sensor, I would choose the Samsung SmartThings Motion Sensor. It magnetically attaches to its base and the battery life is superb.

Contact sensors

Also known as door/window sensors. This type of sensor consists of 2 pieces – a magnet and a sensor. When the magnet moves away from the sensor, it’s in its “open” state and when they are together it’s “closed”. Again speed, battery life, and design are the most important features to consider.

Zigbee vs. Z-Wave

Just like with the motion sensor, speed can be the deciding factor. If opening a door should trigger the lights to come on, then Zigbee is the way to go. For everything else, battery life and design are more important. For me, that means I use Zigbee devices for doors and Z-Wave devices with larger batteries for windows.

Placements

For doors, place them on the side of the door that is away from the main areas in the house. For instance, put them inside the closet where nobody can see them when closed. Put them on the bedroom side of the door instead of the hallway side.

For windows, place them where they are hardest to see. You can’t really hide them.

Color

Some manufacturers make different colored sensors. Try to match the color of the sensor with that of where you put them. This makes them more invisible.

Which one to get

For doors, I use the Visonic MCT-340 E which is super-fast and relatively small compared to most other contact sensors. For windows or other places where speed isn’t an issue and battery life matters more, the NEO Z-Wave sensor is great. My shower door has a brown metal frame, so for that I use the slightly bigger Z-Wave Rare Earth Magnet sensor which comes in brown.

Light sensors

With a light or illuminance sensor, we can adjust our automation based on the amount of light present in the room. That way we can avoid turning on the lights when the room is already filled with sunlight. Or we can adjust the dimming level of a light switch to the amount of light presently in the room.

Zigbee vs. Z-Wave

For me, it usually comes down to speed. In this case, it probably doesn’t matter since light measurement isn’t done in real-time but usually captured every 1-5 minutes depending on the sensor. So, battery life and design are more important to consider than speed.

Usually, light sensors don’t come as standalone sensors, but as part of multi-sensors that also does motion and temperature sensing. At the time of writing, I have yet to find a light sensor that also has a super-fast motion sensor.

Placements

You could place a light sensor in each room, but that would most likely be overkill. Unless you already have a multi-sensor in the rooms with light sensing capabilities. Instead, what I’ve done is to place one sensor on each side of the house. So, no matter what room I automate, I know the amount of light coming to the windows on that side of the house.

Place them in the window close to the glass so curtains don’t get in between them and the window itself.

Which one to get

I use the Dome Z-Wave Motion/Light sensor because it is relatively cheap and gives consistent light level readings. It’s important to notice that I don’t use the motion sensor in this device at all. It’s too slow and it doesn’t allow me to place it in the best position for light sensing.

When using SmartThings Hub, use the Z-Wave Temp/Light Sensor device handler for this sensor. It allows it to run locally.

I hope you found this helpful. Remember to check out more home automation ideas and the best practices.